How to Find and Photograph the Northern Lights
This post may contain affiliate links. If you make a purchase through one of these links, I may earn a small commission at no additional cost to you.
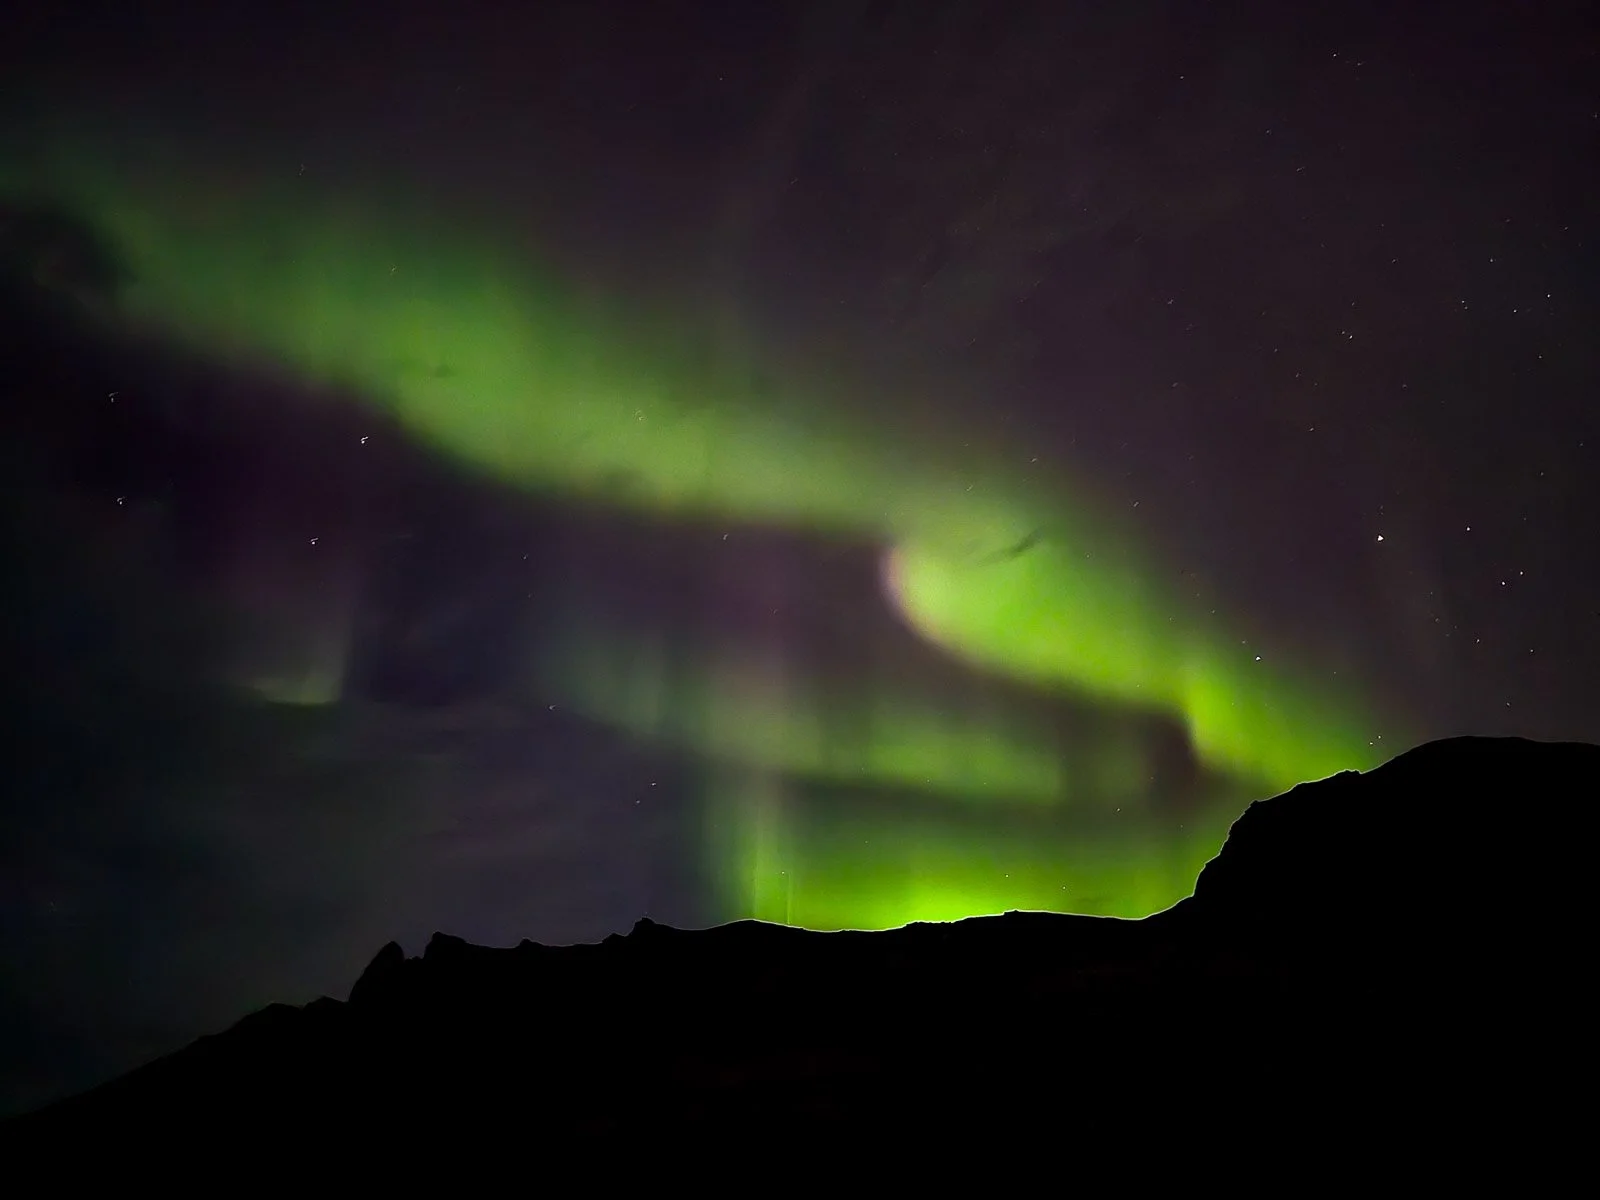
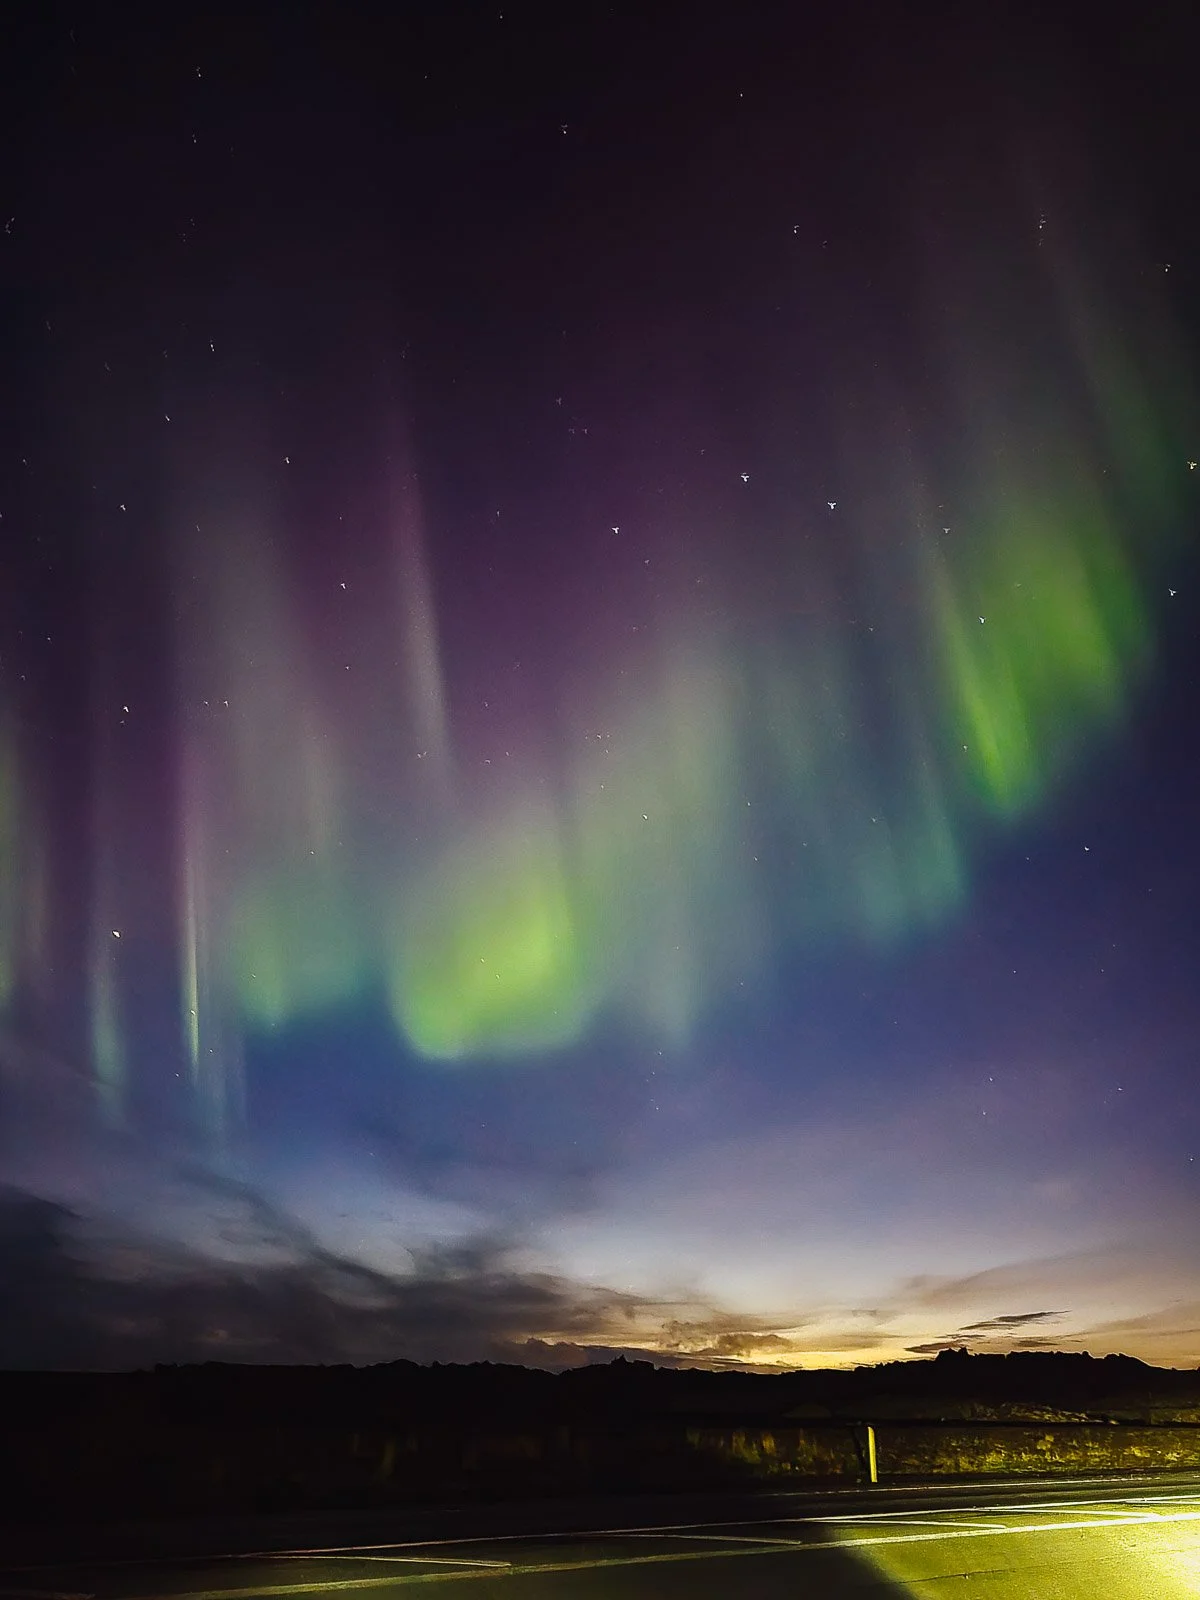
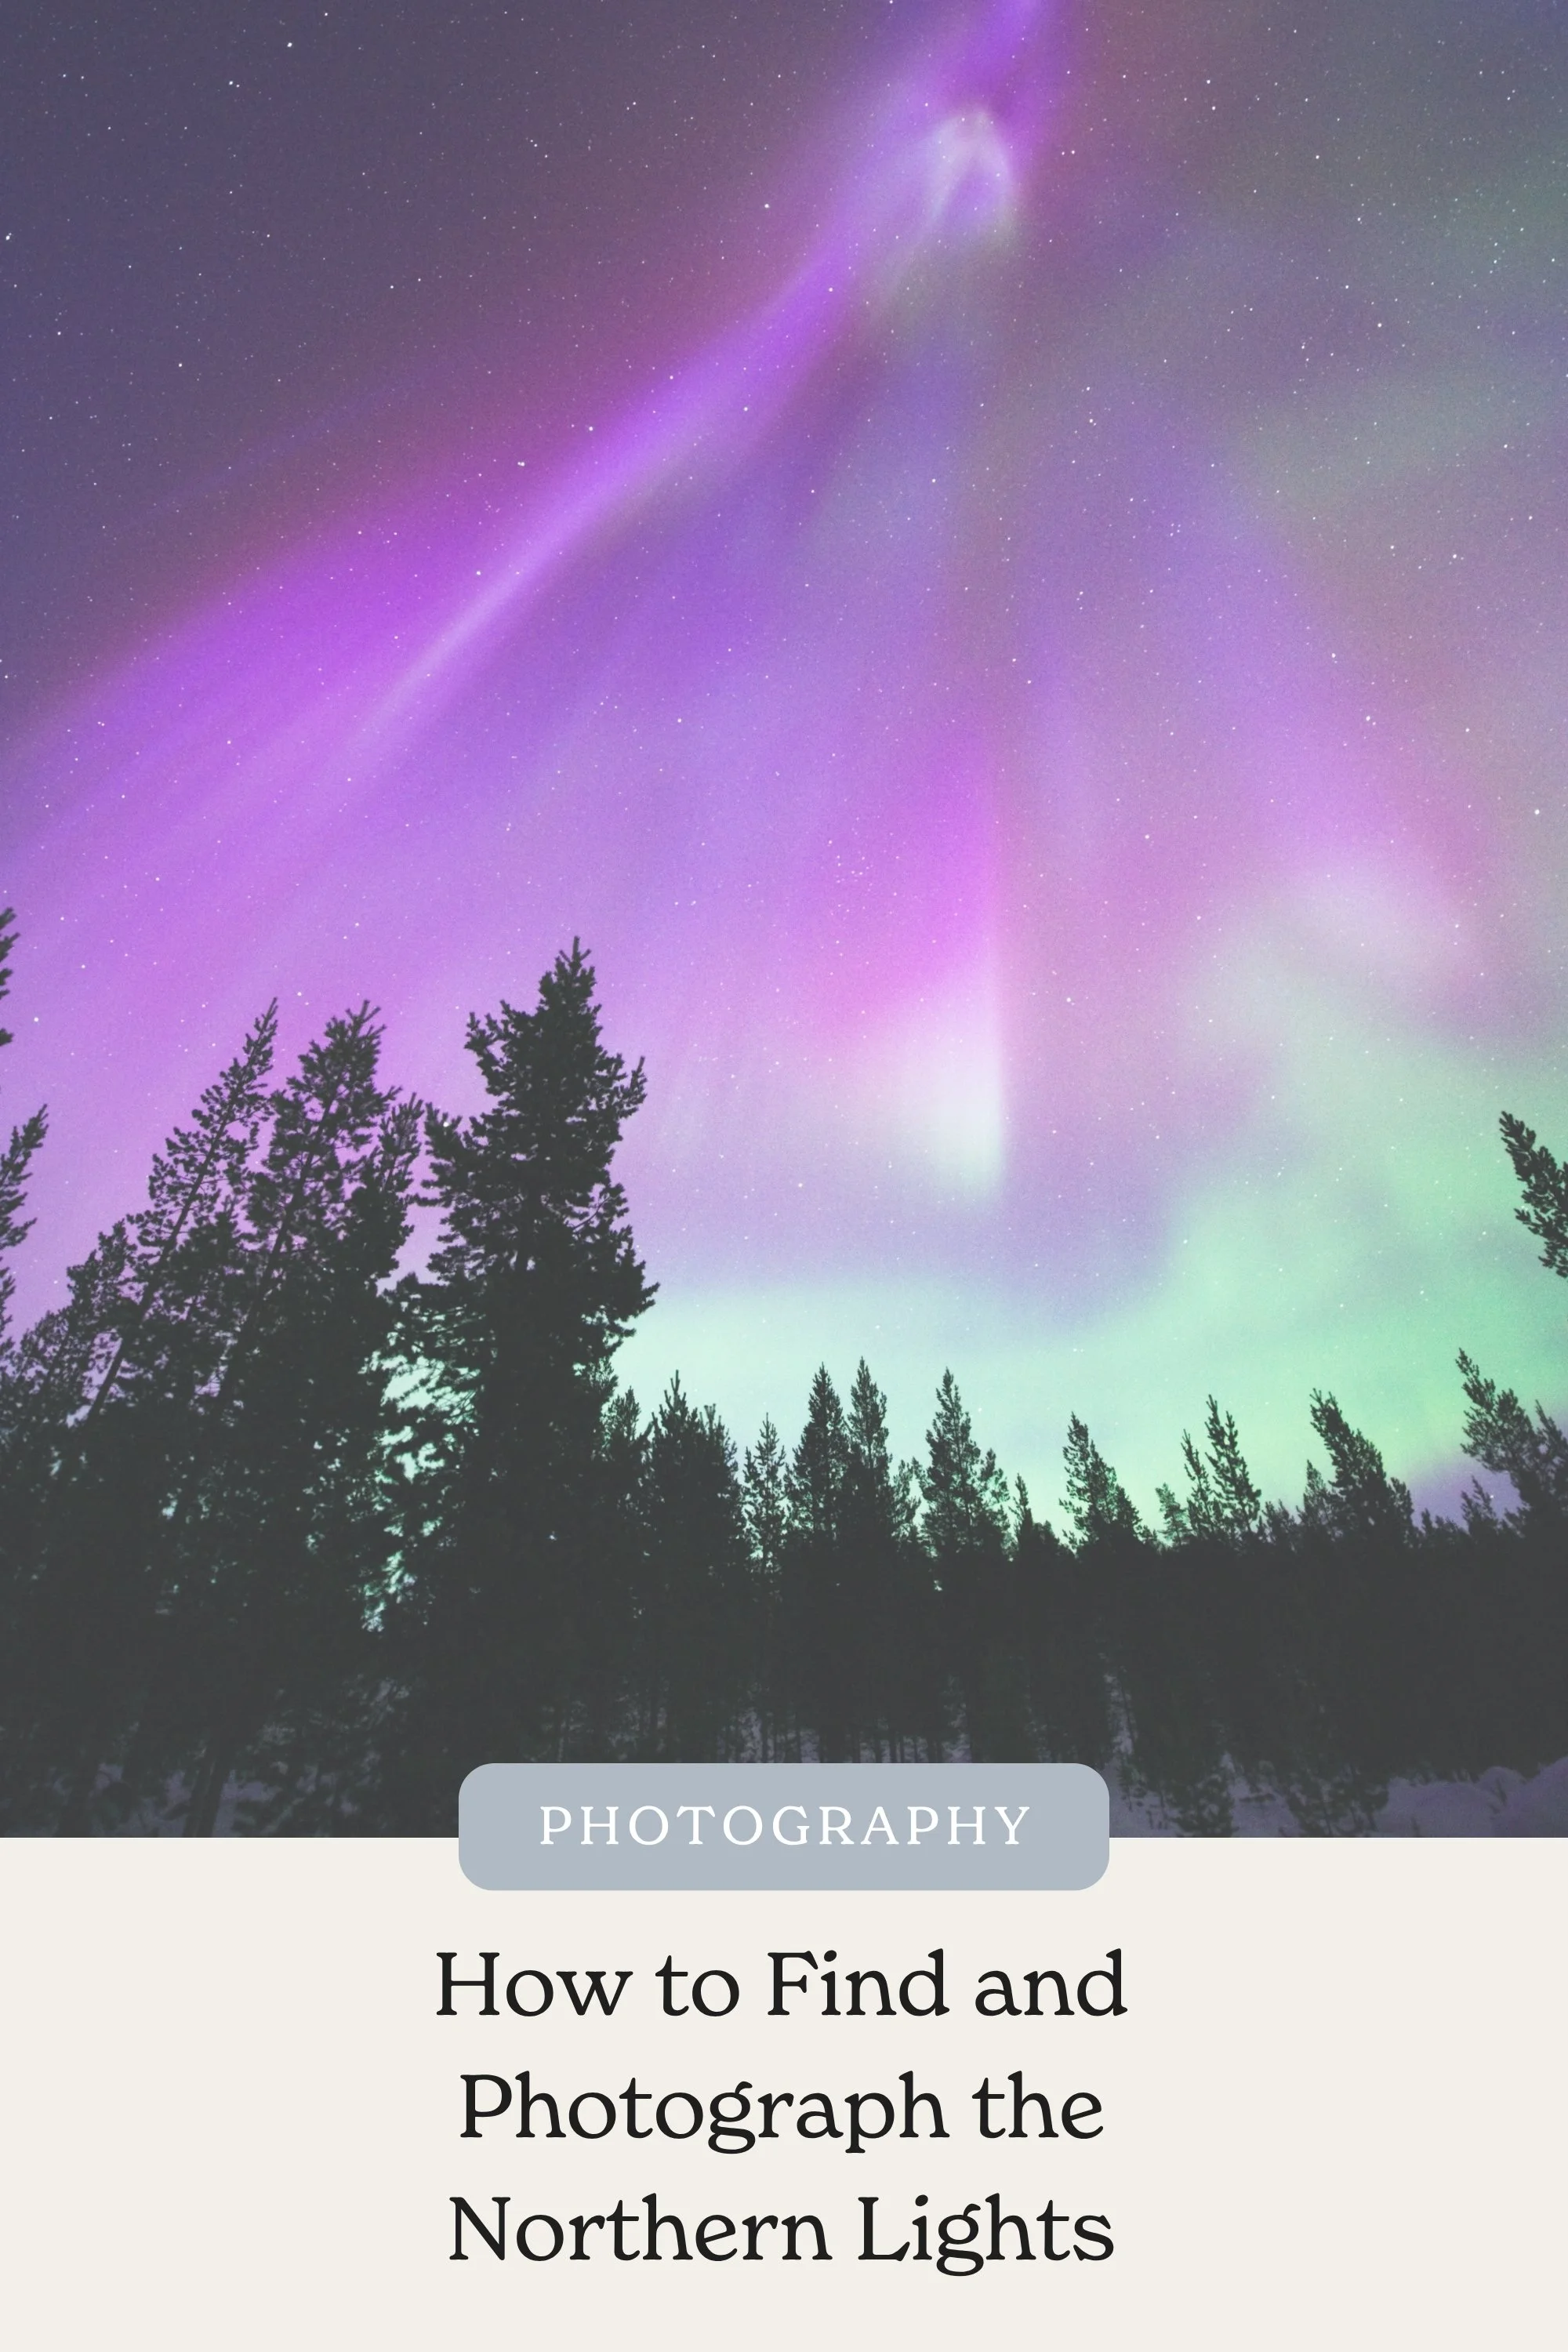
Seeing the Northern Lights is one of those experiences that somehow manages to be even cooler in person than it looks in photos, and for me, photographing them is half the fun.
I've chased and photographed the Northern Lights in Iceland, and one of the biggest things I've learned is that there isn't one magic forecast number, camera setting, or location that guarantees you're going to see them. You need darkness, enough solar activity, a break in the clouds, and usually a little patience because the aurora does whatever it wants.
The good news is that you don't need to be an expert photographer or own the most expensive camera on the market to get a great photo. Modern cameras and phones are incredibly capable in low light, and once you understand a few basic settings and know what to look for in the forecast, photographing the Northern Lights becomes much less intimidating.
In this guide, I'm going through how I look for the aurora, the forecasts I actually pay attention to, where you're most likely to see it, the camera settings I use as a starting point, how to photograph it with a phone, and everything else I've learned from standing outside in the dark waiting for the sky to turn green.
At a Glance
How I Find the Northern Lights
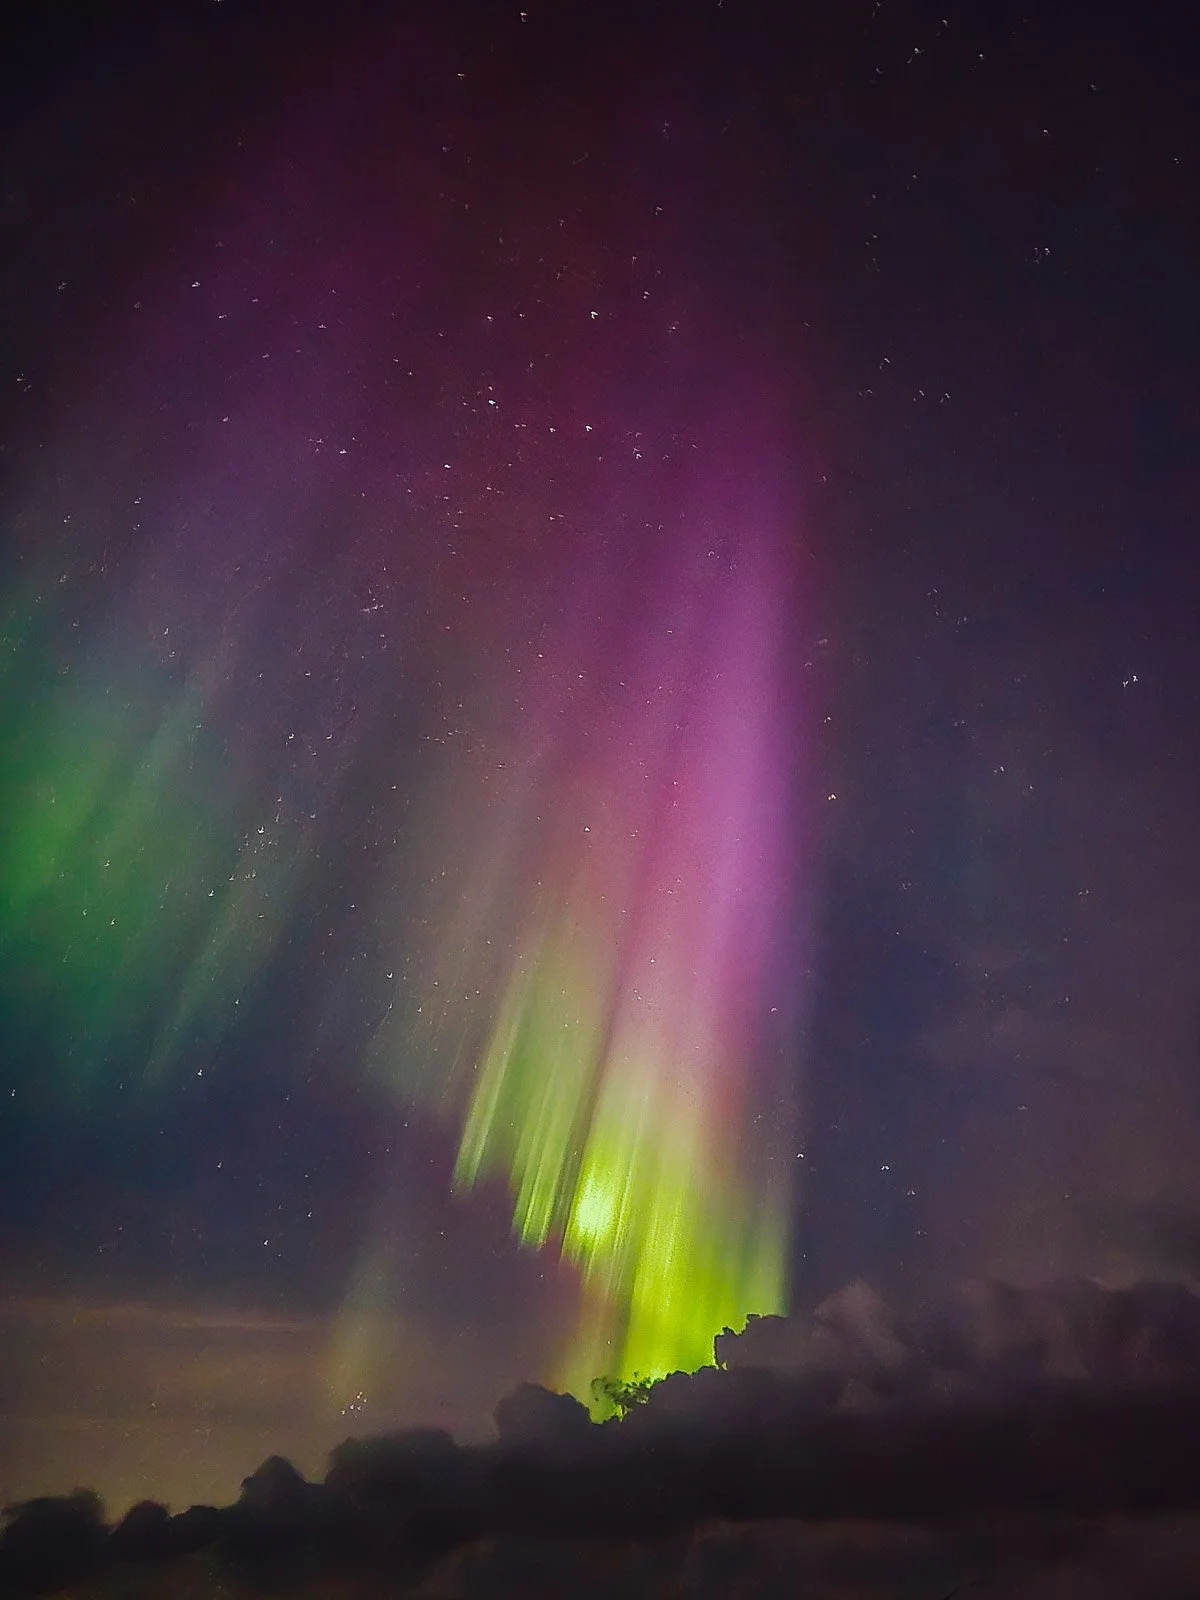
Finding the Northern Lights is really a combination of three things: darkness, clear enough skies, and aurora activity. You can have an amazing aurora happening above you, but if you're standing underneath a solid layer of clouds, you're probably not going to see much. Because of that, I usually pay just as much attention to the weather and cloud cover as I do to the actual aurora forecast.
When I'm in Iceland, I use the Icelandic Meteorological Office Aurora Forecast because it shows the aurora forecast alongside cloud cover. The map makes it easy to see where the sky is expected to be clearer, which is especially helpful if you have a rental car and are willing to move around a little. NOAA's Aurora 30-Minute Forecast is also useful when I'm actively waiting for the lights, as it gives me a near-real-time view of where auroral activity is expected.
You'll also hear a lot about the Kp index. I pay attention to it, but I don't use it as a simple "good night or bad night" score. If you're already somewhere far north within the auroral zone, you can see the Northern Lights when the Kp isn't particularly high. I would much rather have moderate aurora activity and clear skies than a huge forecast hidden behind clouds.
Light pollution matters too, especially when the aurora is faint. Getting away from bright city lights makes it much easier for your eyes and camera to pick up subtle activity. That doesn't mean you always need to drive two hours into the middle of nowhere, though. I've seen the Northern Lights with nearby light pollution when the display was strong enough.
And finally, actually go outside and look. It sounds obvious, but it is really easy to spend the entire night staring at forecast apps waiting for the numbers to change. Give your eyes time to adjust to the darkness and look around the entire sky. Depending on where you are, the aurora can appear to the north, directly overhead, or even behind you.
Give Yourself More Than One Night
If seeing the Northern Lights is important to you, I would never plan an entire trip around a single night to see them. Even if the aurora forecast looks great, clouds, weather, or simply bad timing can completely change the night.
If possible, give yourself several nights in an area where you have a chance of seeing them. That way, you can adjust your plans based on the weather instead of feeling like everything depends on one evening working out perfectly.
I've also learned not to treat an aurora forecast like a reservation. The Northern Lights might appear earlier than expected, much later than expected, or suddenly become incredibly active after you were convinced nothing was going to happen. That unpredictability is part of what makes seeing them so exciting.
My Starting Northern Lights Camera Settings
There isn't one perfect camera setting for the Northern Lights because the aurora can change dramatically from one night to the next. Sometimes it's a faint glow that barely seems to move, while other times it's bright and moving so quickly that a long exposure will blur all of the detail.
I usually start somewhere around f/2.8, ISO 1600, and a shutter speed of a few seconds, take a test photo, and adjust from there. If the aurora is bright and moving quickly, I'll shorten the shutter speed to capture more of its shape and movement. If it's faint, I'll increase the ISO or use a slightly longer exposure.
For a bright, fast-moving aurora, something around 1 to 4 seconds can work really well. For a more moderate display, I might be closer to 4 to 8 seconds, and if the aurora is faint, I may push the exposure toward 8 to 15 seconds.
I don't like treating those numbers as rules, though. Take a photo, look at what you're getting, and adjust. If the aurora looks like one big blurry green patch instead of the defined shapes you're seeing in the sky, your shutter speed is probably too long.
I also shoot in manual mode and use a wide aperture whenever possible, so the camera can collect as much light as it can.
How I Focus in the Dark
Autofocus can struggle in a dark sky, so I usually switch to manual focus. Instead of simply turning the focus ring all the way to the infinity symbol, I find a bright star or another very distant light, zoom in using the camera's live view, and adjust the focus until that point looks as small and sharp as possible.
Once I have it, I try not to touch the focus ring again. I still check it occasionally, especially if I've changed focal lengths or accidentally bumped the lens, because there is nothing worse than standing outside freezing for an hour and later realizing that an entire set of Northern Lights photos is slightly out of focus.
Shoot in RAW
If your camera allows it, I definitely recommend shooting the Northern Lights in RAW. These photos usually involve dark foregrounds, bright auroral areas, high ISO, and unusual colors, so having as much information in the file as possible gives you much more flexibility when you edit later.
A RAW file makes it easier to adjust the white balance, recover shadows and highlights, reduce noise, correct the exposure, and fine-tune the color without degrading the image as quickly. A JPEG has already been processed in-camera, so you have much less room to make those adjustments afterward.
Turn Off Stabilization on a Tripod
If your camera or lens has image stabilization and you're using a solid tripod, I generally turn the stabilization off. The tripod is already keeping the camera still, and, depending on the stabilization system, leaving it on can sometimes introduce tiny movements as the camera tries to correct motion that isn't actually happening.
Just remember to turn it back on when you take the camera off the tripod and start shooting handheld again. I have absolutely forgotten to do that before.
How to Compose a Northern Lights Photo
It is really easy to see the Northern Lights for the first time, get excited, and point your camera straight at the sky. And yes, you'll get a photo of the aurora, but the Northern Lights photos I like the most usually have something else going on in the frame too.
Give the Aurora a Foreground
Instead of photographing only the sky, look for something that gives the photo a sense of place. Mountains, water, ice, trees, roads, cabins, churches, beaches, waterfalls, people, and even interesting rocks can completely change the image.
The aurora is obviously the main attraction, but the foreground tells you where you were when you saw it. A green sky could have been photographed almost anywhere in the north. Put an Icelandic waterfall, a snowy mountain, or a little church underneath it, and suddenly the photo has much more of a story.
Look for Reflections
If you're anywhere near calm water, always check for reflections. A strong aurora reflecting across a lake, lagoon, or even a small pool of water can turn a nice photo into one of your favorites.
Think About How Much Sky You Actually Need
I also don't think the horizon needs to sit in the middle of every Northern Lights photo. If the aurora is huge and doing something incredible, give the sky more room. If the landscape is the most interesting part and the aurora is more subtle, let the foreground take up more of the frame.
The rule of thirds can be helpful, but I'm definitely not standing outside at midnight in Iceland mentally calculating grid lines. Move around, look through the camera, and frame it in a way that looks good to you.
How to Photograph the Northern Lights With a Phone
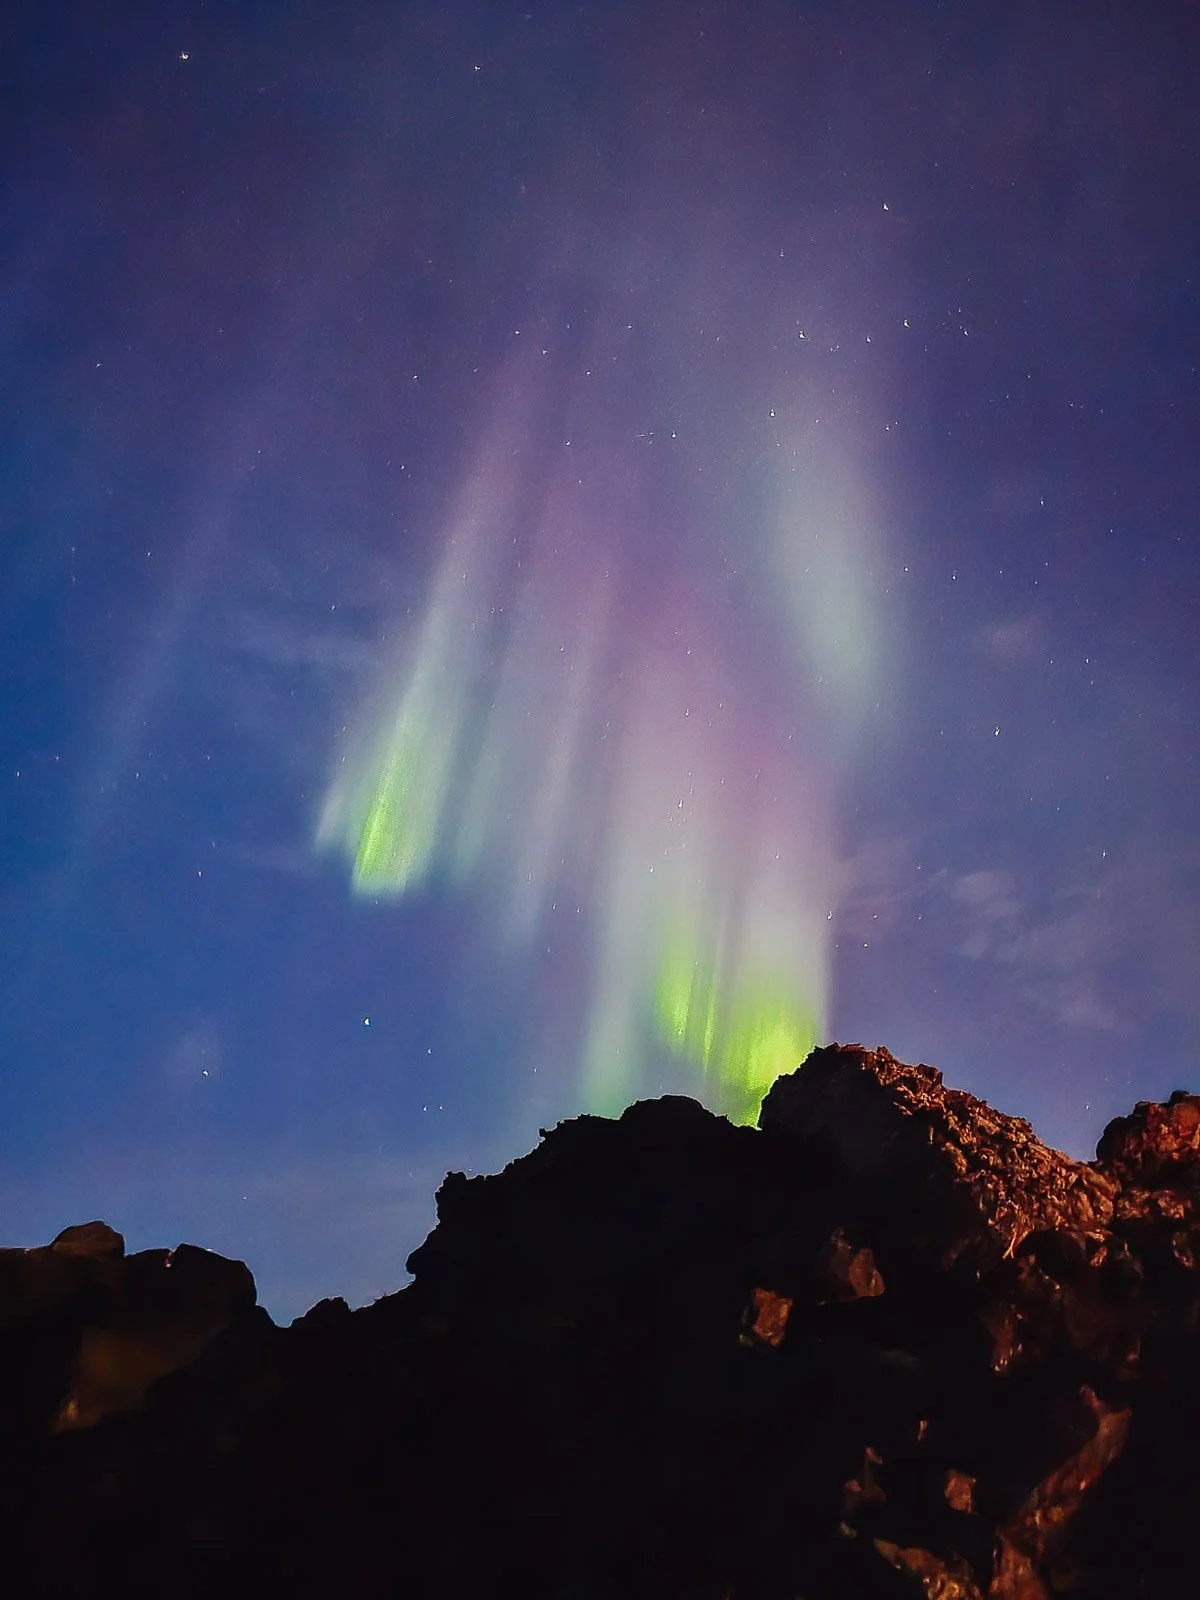
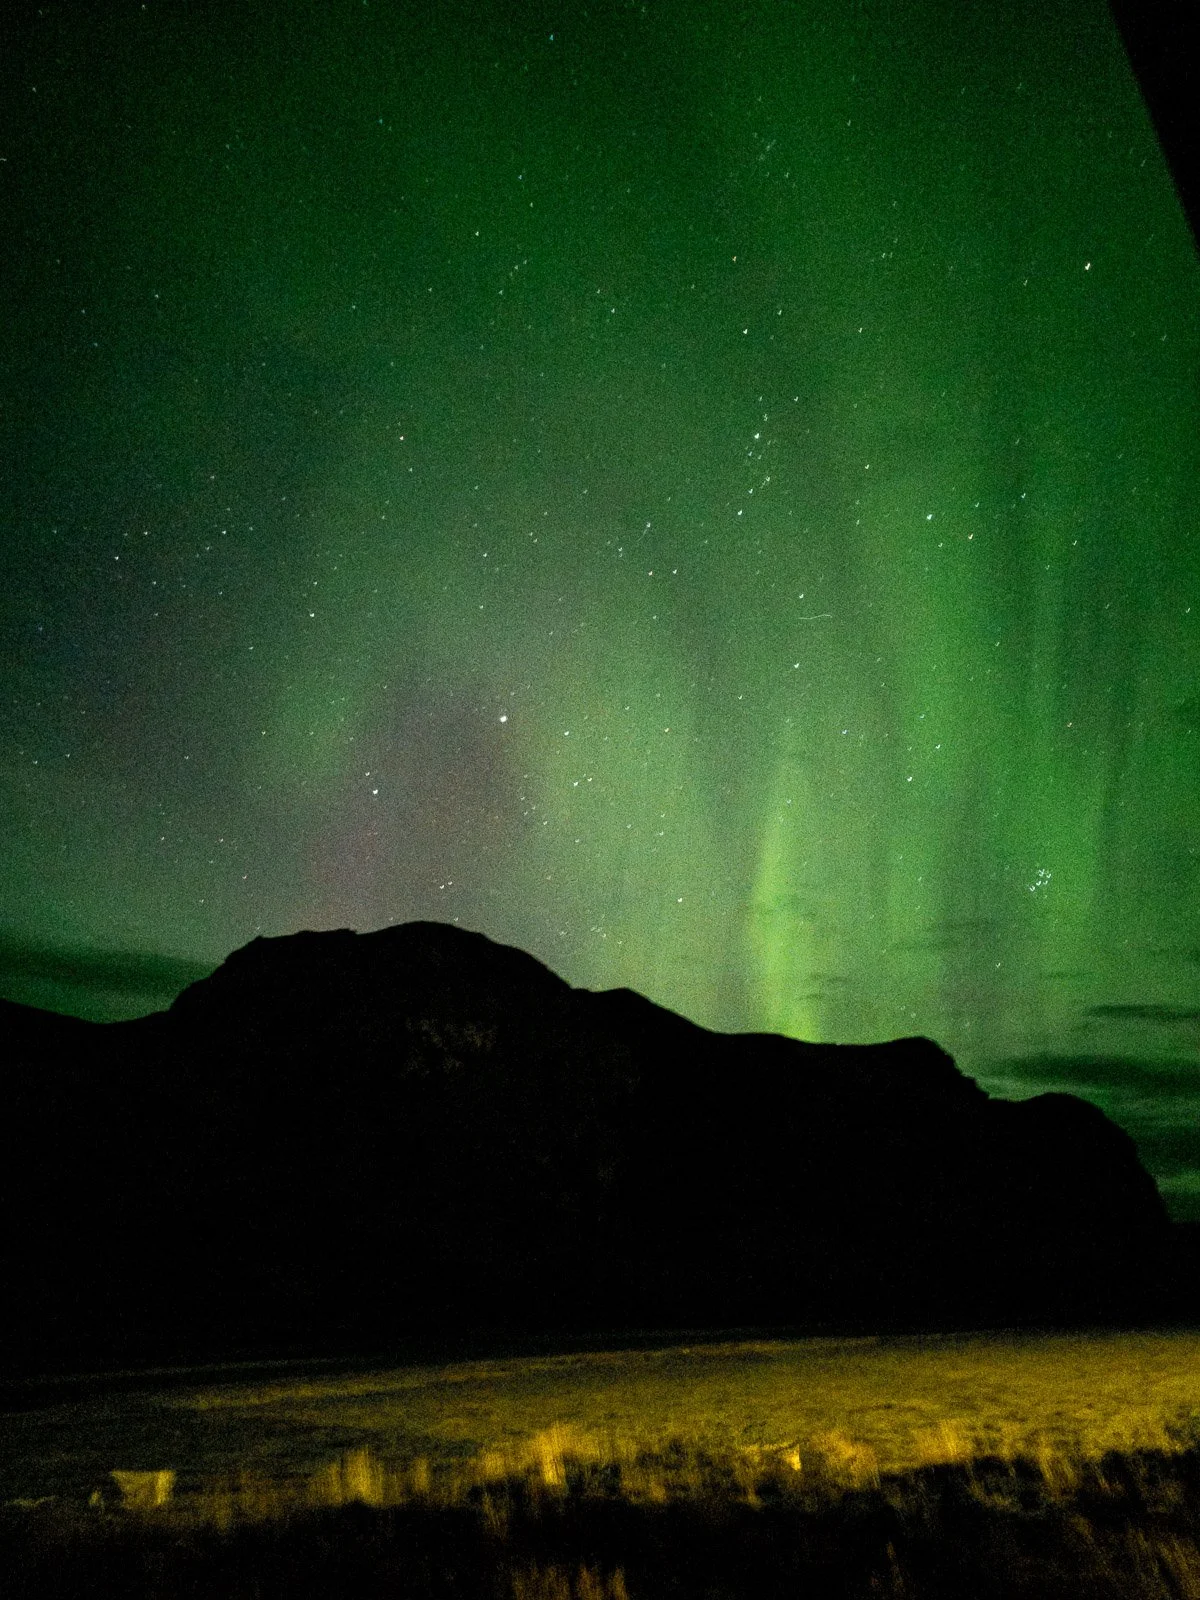
Phones have gotten ridiculously good at photographing the Northern Lights. You still won't get quite the same control or image quality as you would from a full-frame camera, but a modern smartphone can absolutely capture a great aurora photo.
My current phone is the Samsung Galaxy S26 Ultra, and I use it pretty often when I don't feel like pulling out my full camera setup. These tips also work with recent iPhones, Pixels, Galaxy phones, and other phones with strong Night Mode or manual camera controls.
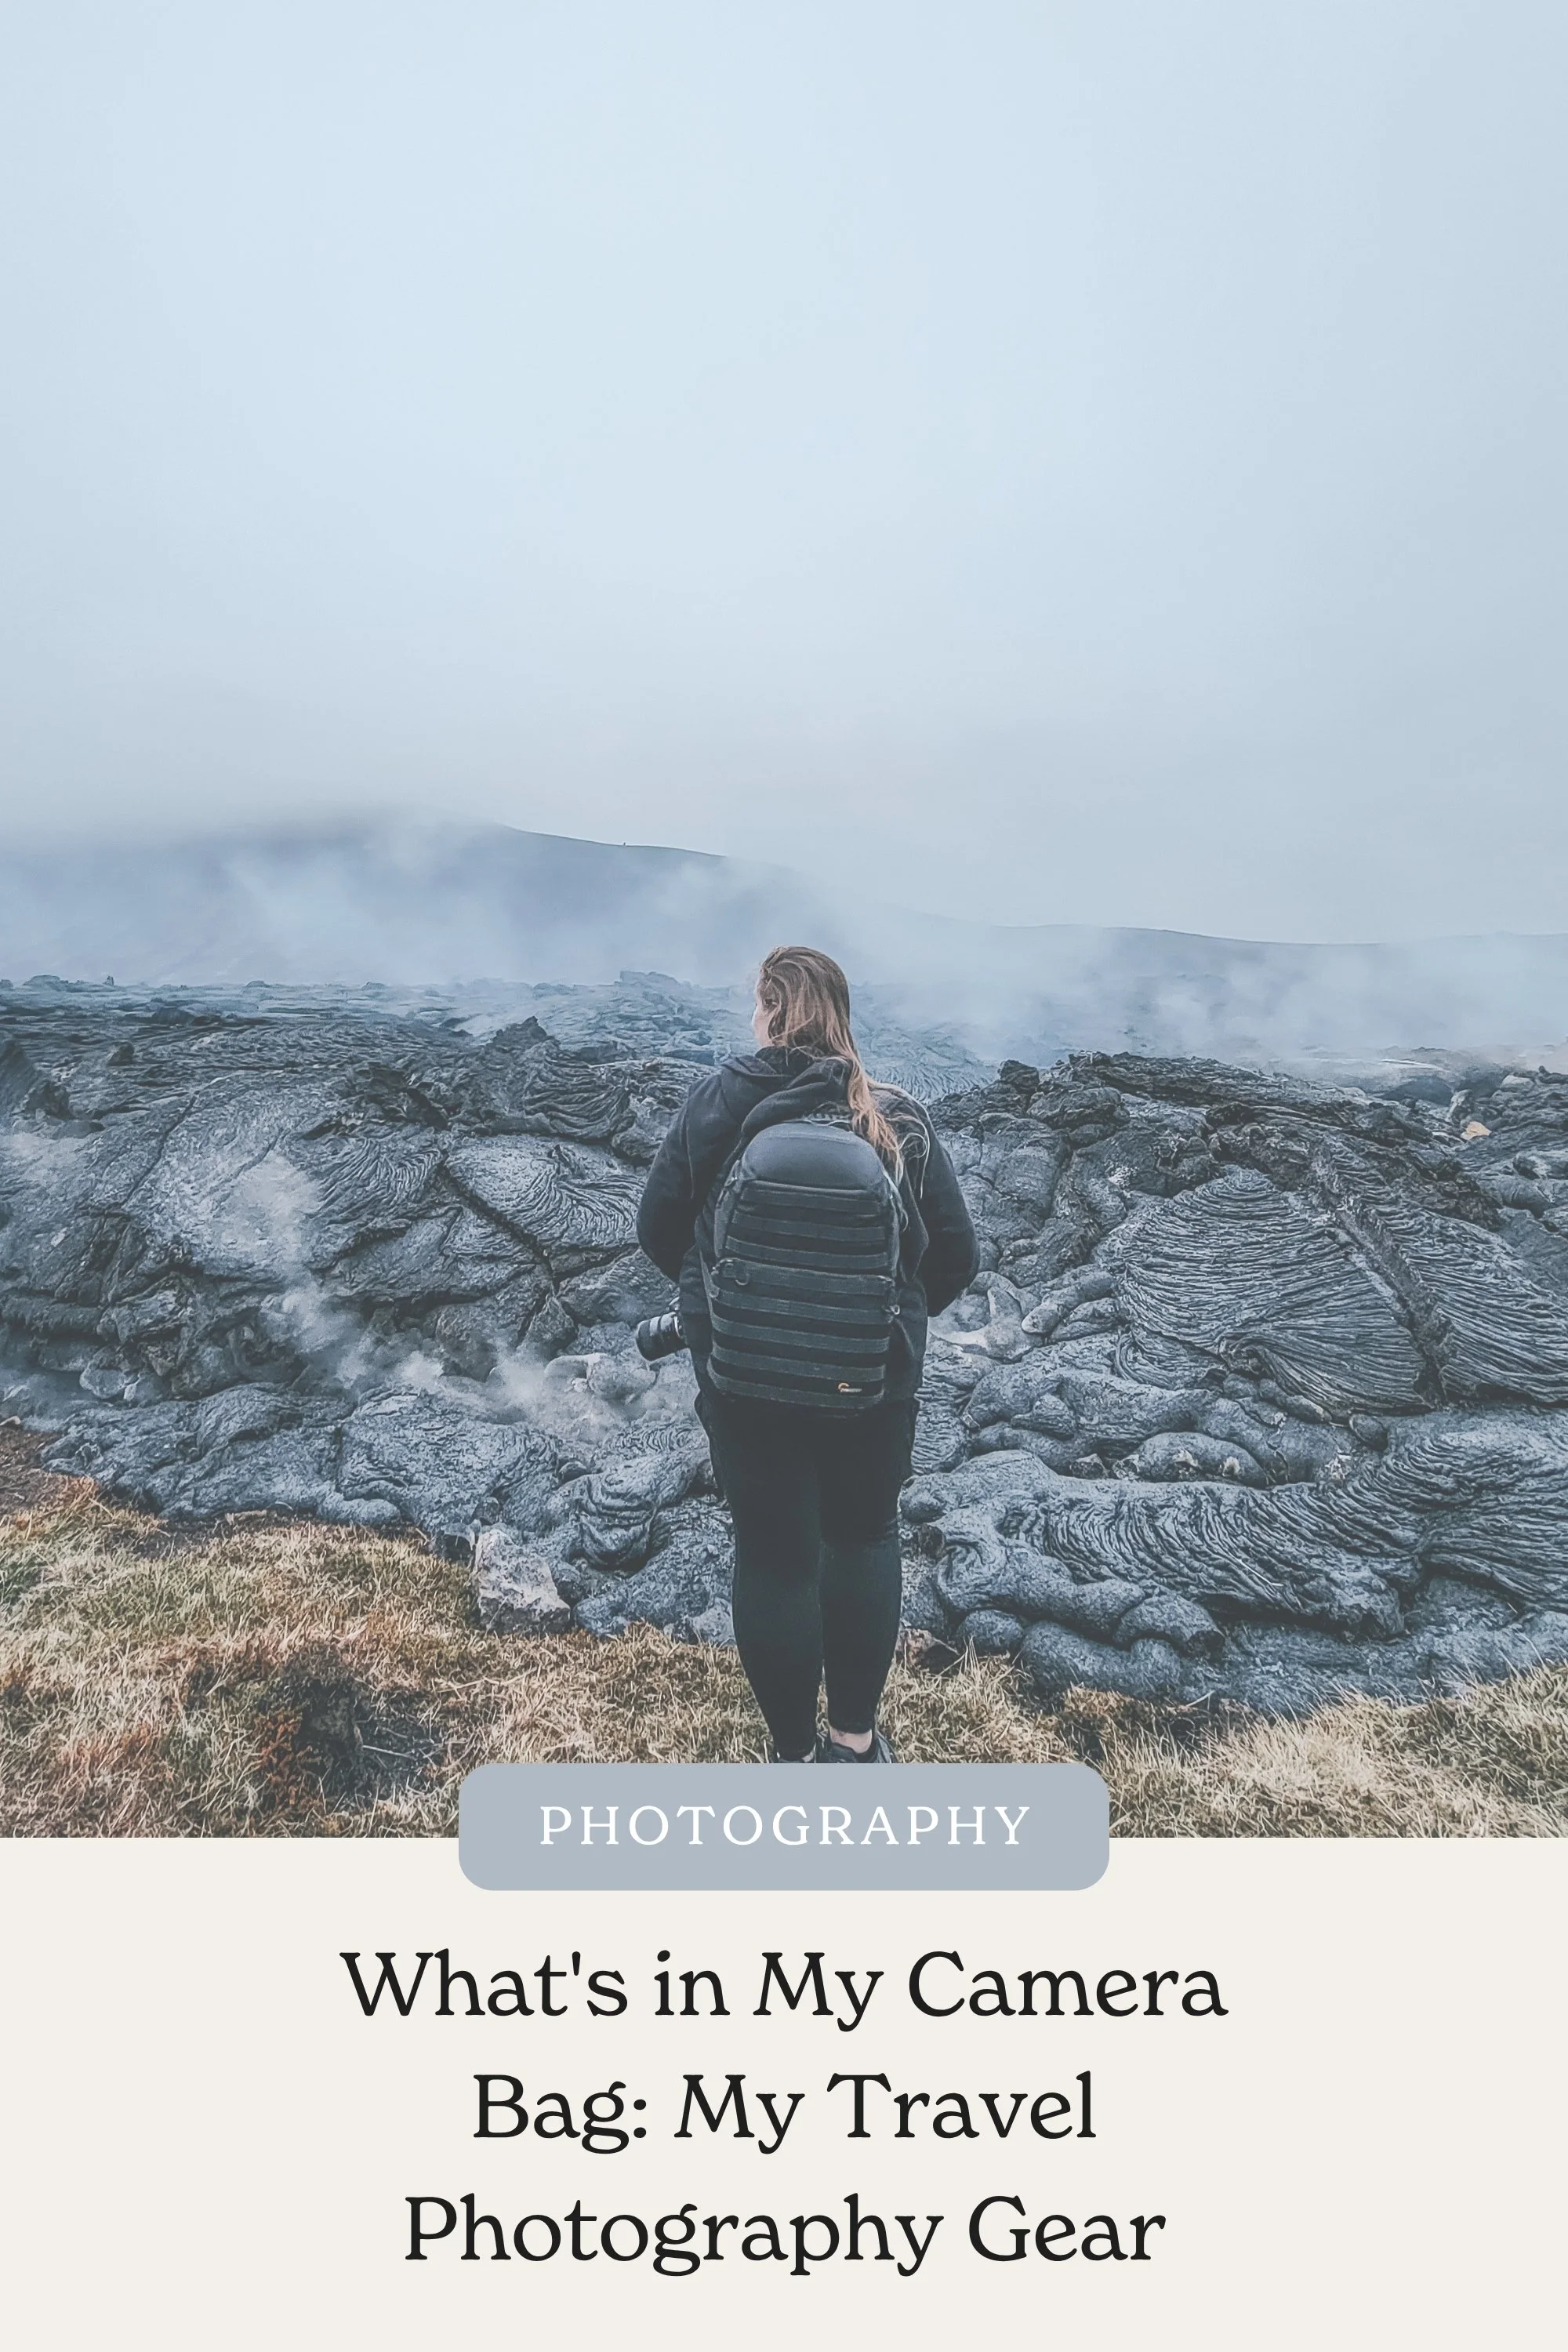
If you're curious about the rest of the photography gear I travel with, I keep everything updated in my What's in My Camera Bag: My Travel Photography Gear guide.
The Easy Method: Night Mode
If you don't want to manually mess around with ISO and shutter speed, start with Night Mode. Hold the phone as still as possible, or even better, put it on a small tripod or prop it against something stable. Tap on the aurora so the phone knows what you're trying to expose for and let Night Mode do most of the work.
For most people who just want a good photo to remember the night, I would start here before worrying about any of the manual settings below.
If Your Phone Has Pro or RAW Controls
Start around:
ISO: 800-1600
Shutter: 2-8 seconds
White Balance: 3500-4500K
Focus: Manual near infinity
Tripod: Yes
Then adjust based on how bright and fast the aurora is. Samsung's Expert RAW app also gives supported Galaxy phones manual control over ISO, shutter speed, white balance, focus, and RAW capture. It also includes an astrophotography mode. One important difference, though: aurora photography is not exactly the same as photographing stars. Astrophotography modes that combine very long exposures can work well for a static night sky, but a fast-moving aurora may look better with a shorter manual exposure.
Can You Photograph the Northern Lights Without a Tripod?
With a phone using Night Mode, you might be able to get away without a tripod, especially if the aurora is bright and your phone has really good stabilization. With a camera using a multi-second exposure, though, you're making things a lot harder on yourself.
If you don't have a tripod, use whatever is around you. I've balanced cameras on rocks, walls, benches, backpacks, and other stable surfaces when I needed to. Even the roof of a parked car can work in a pinch.
Basically, anything stable is better than trying to handhold a five or six-second exposure. Just make sure whatever you've put your camera on is actually secure because dropping your camera onto an Icelandic lava field would be a really bad ending to your Northern Lights night.
Editing Northern Lights Photos
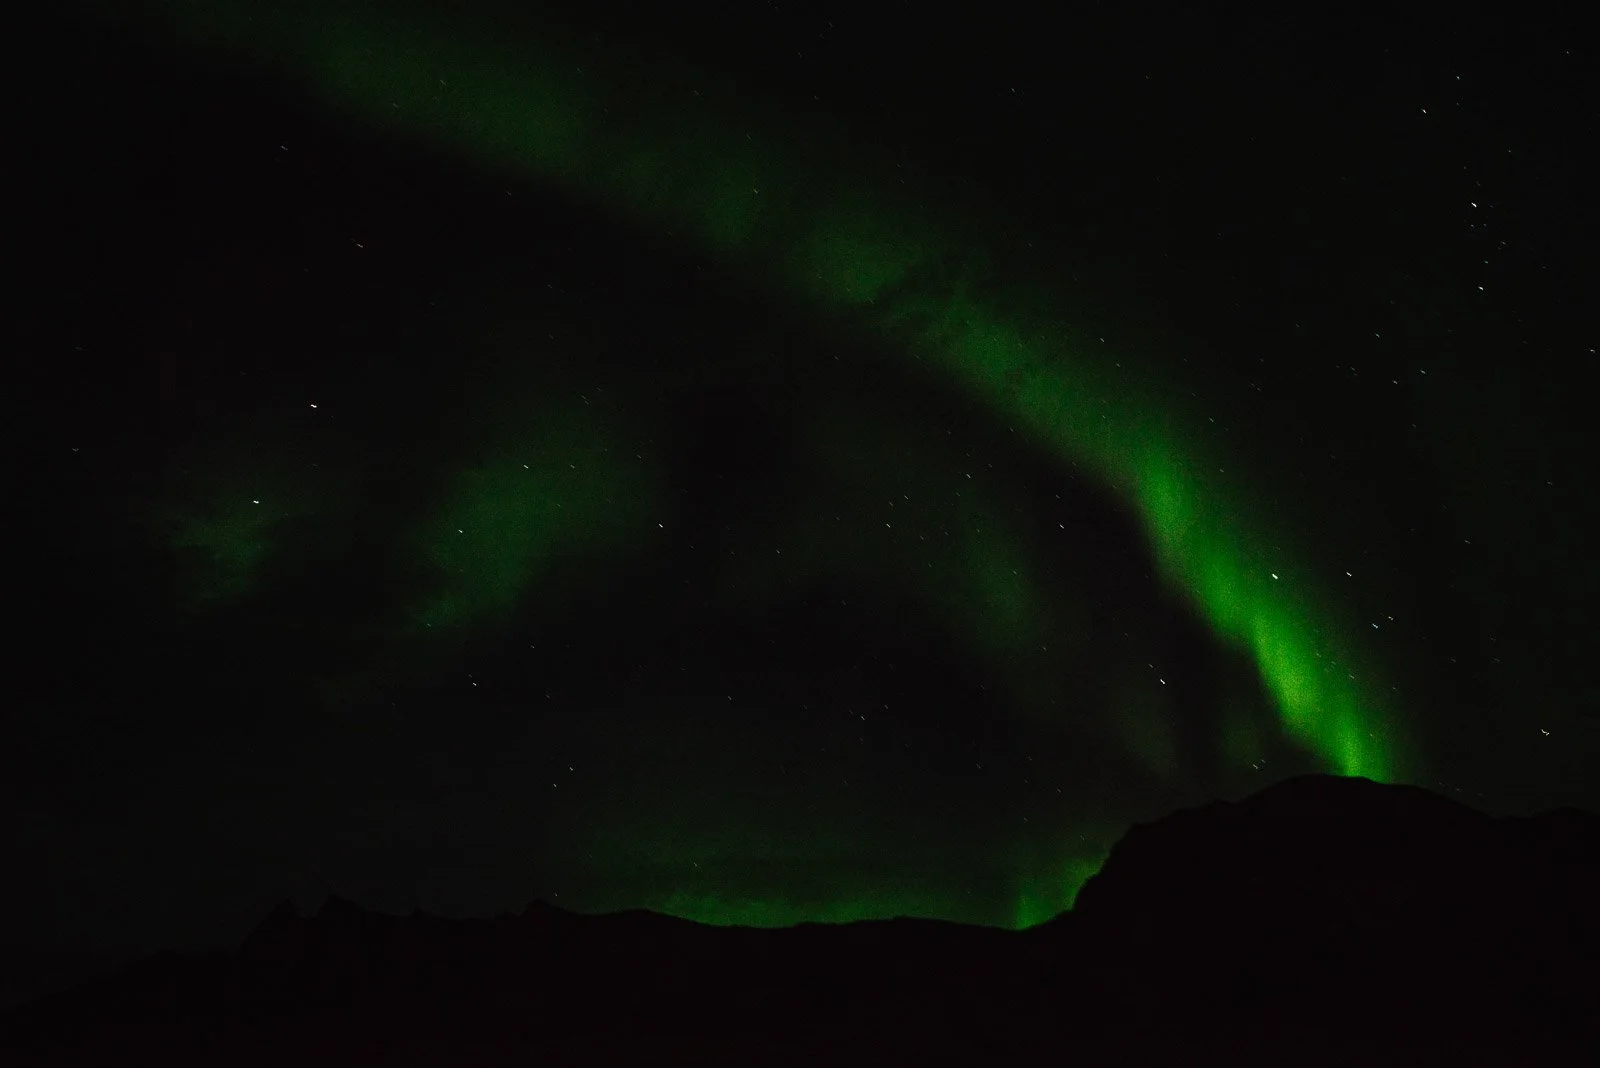
Northern Lights photos usually benefit from some editing, especially if you're shooting in RAW, but this is also where it's easy to go too far.
I normally start with the white balance and exposure. I want the sky and landscape to look believable, not turn the entire photograph neon green. I'll usually brighten the foreground enough to bring back some detail, but I still want it to feel like the photo was taken at night rather than making everything look like daylight.
From there, I'll work on the noise and color. High ISO and dark shadows naturally create noise, so some noise reduction can help, but too much can wipe out stars and landscape details. The same goes for saturation. Aurora colors can already be incredibly intense, so you usually don't need to drag the saturation slider all the way to the right. If the green starts looking like a highlighter exploded across the screen, I would probably back it off.
I'll usually finish with some sharpening, especially around the stars and landscape, but again, I try not to overdo it because sharpening can make noise more obvious. My goal isn't to make the photo look as dramatic as technically possible. I want it to look like the night I actually remember seeing.
Northern Lights Safety
I know. Here comes the boring "I know, Mom" section. But Northern Lights photography has a weird habit of putting people on dark roads, beside icy parking lots, in the middle of nowhere, at midnight, while staring at the sky instead of where they're walking. So this stuff actually matters.
Do Not Stop in the Road
If you suddenly see the aurora while driving, don't slam on the brakes and pull halfway onto the shoulder. Find a safe parking area or proper turnout. Your Northern Lights photo is not worth someone hitting your car in the dark.
Watch the Weather
The Northern Lights season overlaps with winter in many destinations. That means snow, ice, wind, road closures, and rapidly changing weather can be a much bigger concern than the aurora forecast.
If you're chasing the Northern Lights in Iceland, check SafeTravel Iceland before heading somewhere remote at night.
Dress for Standing Still
Aurora hunting feels a lot colder than normal sightseeing because you can spend a very long time standing in one place waiting for something to happen. I usually wear more layers than I think I'll need, along with a warm hat, gloves, thick socks, and waterproof boots. If you know you'll be outside for a few hours, hand warmers are also amazing.
Bring Light, But Don't Blind Everyone
Bring a headlamp or flashlight. If you're around other photographers, use a dim setting or red light when possible, rather than repeatedly blasting everyone's night vision with a bright white flashlight.
Respect Private Property
A dark field does not automatically mean public land. Don't cross fences or walk onto private property because you found the perfect foreground.
Tell Someone Where You're Going
If you're heading somewhere remote, especially late at night, make sure your phone is charged, know how you're getting back, and let someone know where you're planning to be. This is particularly important if you're driving around chasing clear skies and changing locations throughout the night.
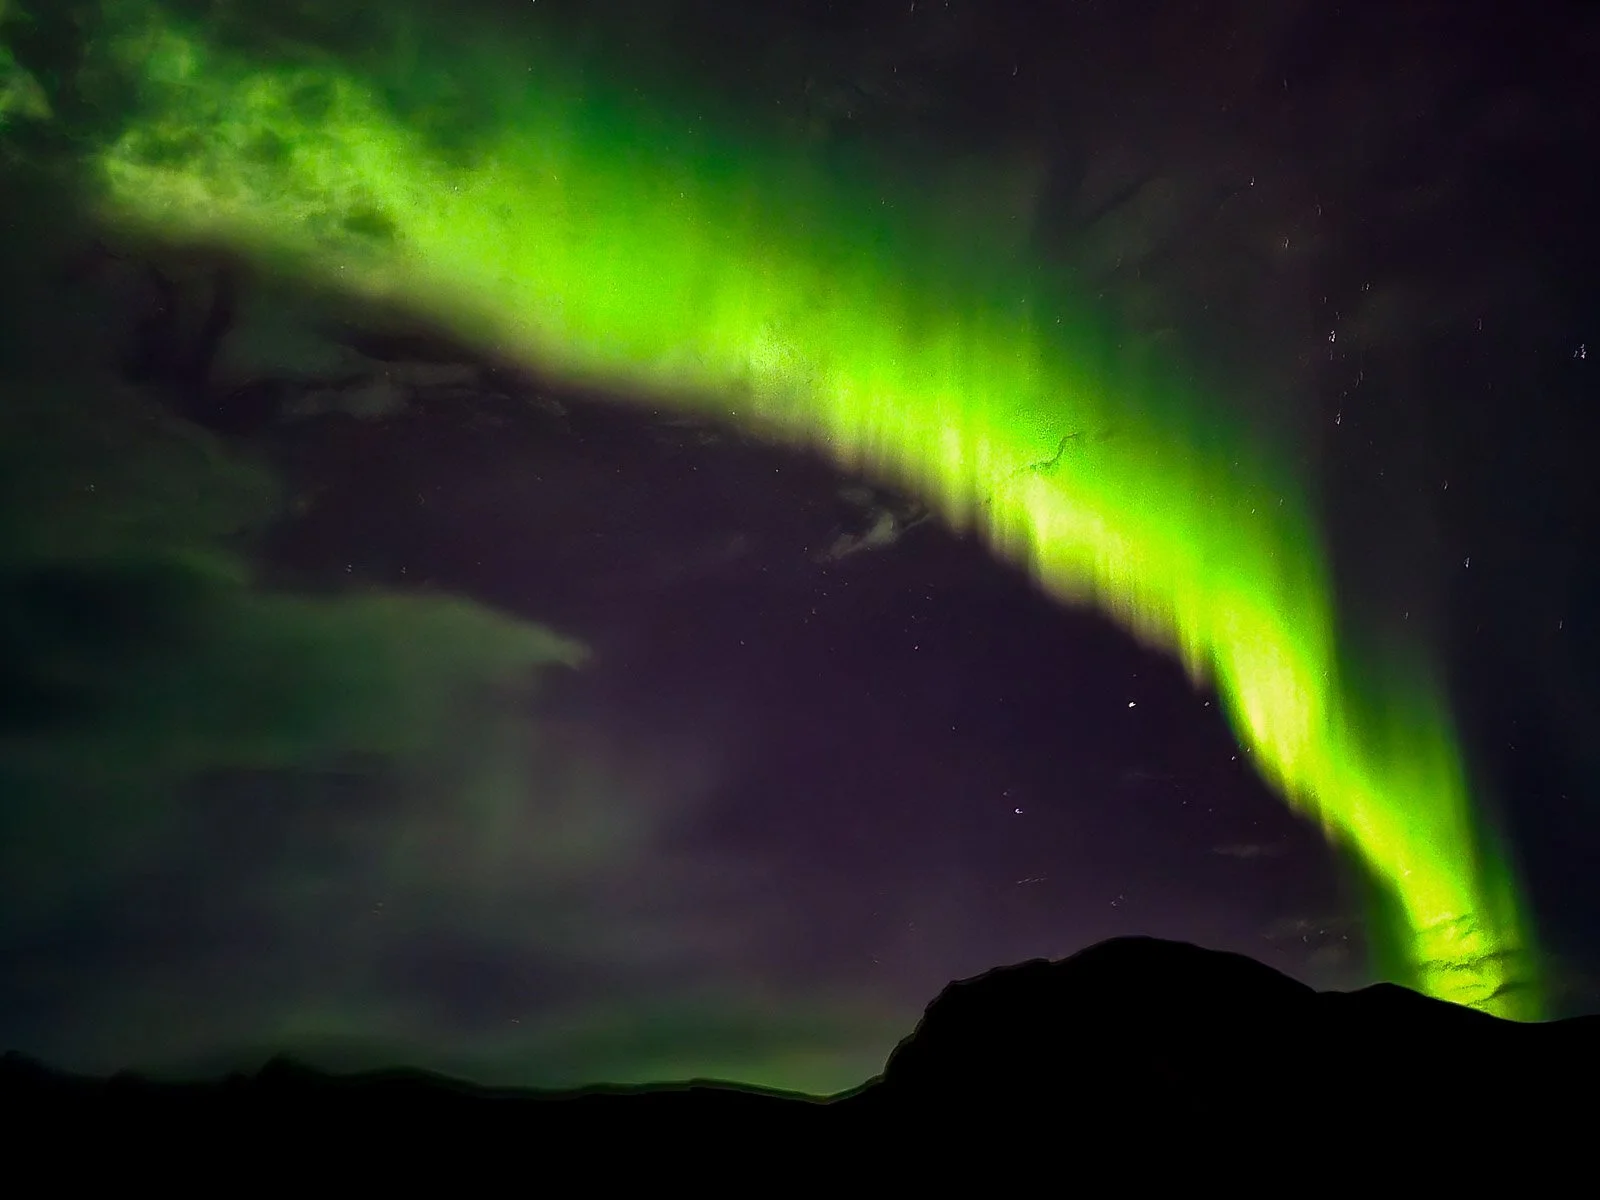
One Last Northern Lights Tip: Be Patient
This is probably the least exciting advice in the whole guide, but it might be the most important. You can do everything right, drive somewhere dark, check the cloud cover, watch the aurora forecast, set up your tripod, get your focus right, and stand outside freezing for an hour, only to see absolutely nothing.
That is just part of chasing the Northern Lights. They do not run on a schedule, and even a really promising forecast does not guarantee you will get a good show.
If seeing them is important to you, give yourself more than one night if you can, stay flexible, and keep checking the sky instead of relying entirely on an app. When the aurora finally does show up, take the photos you want, make sure you get a few you are happy with, and then give yourself some time to actually watch it without staring at the back of your camera the entire time.
Final Thoughts
Photographing the Northern Lights can sound complicated when you start reading about solar wind, Kp values, shutter speeds, ISO, cloud forecasts, and manual focus, but it really does not need to be.
Start by finding a dark spot with a reasonably clear sky and some auroral activity. Put your camera on a tripod, use a wide aperture, start around ISO 1600 with a shutter speed of a few seconds, take a test photo, and adjust from there depending on how bright and fast the aurora is moving.
The more you photograph it, the easier it gets to look at the sky and know what you need to change. Some nights the aurora might barely show up, while other nights it moves so quickly and becomes so bright that you are constantly changing your settings just to keep up.
Either way, if you are lucky enough to see it, enjoy the experience. Getting the photo is exciting, but actually standing there and watching the sky change before your eyes is the part you are probably going to remember most.
Keep chasing the light. See you out there.








Want to visit the real Hocus Pocus filming locations? Follow this self-guided tour through Salem and nearby Marblehead to see Allison's house, Max and Dani's house, their school, Old Town Hall, Pioneer Village, Old Burial Hill, and more.